My apartment out in California is slowly coming together! We haven’t talked much about my move because it happened a bit unexpectedly and everything came together so quickly I didn’t have a lot of time to process everything. But once I found out I had gotten a job out here I knew I had to start apartment hunting… yuck.
I was definitely not looking forward to it, but I got so lucky. I absolutely fell in love with the first apartment I saw, it’s two blocks from the beach, across the street from dear family friends and absolutely adorable. I think I had the entire thing decorated in my head before I even left the showing. It’s so bright with amazing natural light in every room, there are great natural wood beams on the ceiling and in the living room there is a white mantle, fireplace and built in bookcases. #swoon. One of the design features I knew I wanted to do was a gallery wall on the big blank wall across the living room from the fireplace! I started looking around and was so surprised by Minted’s amazing art selection!
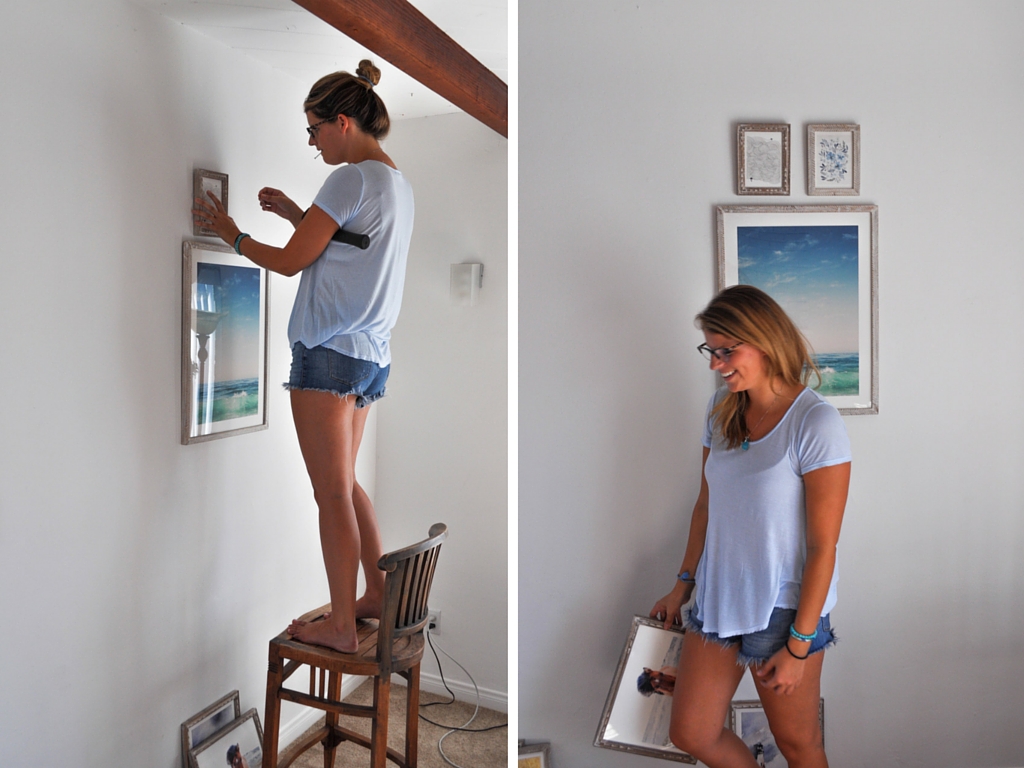
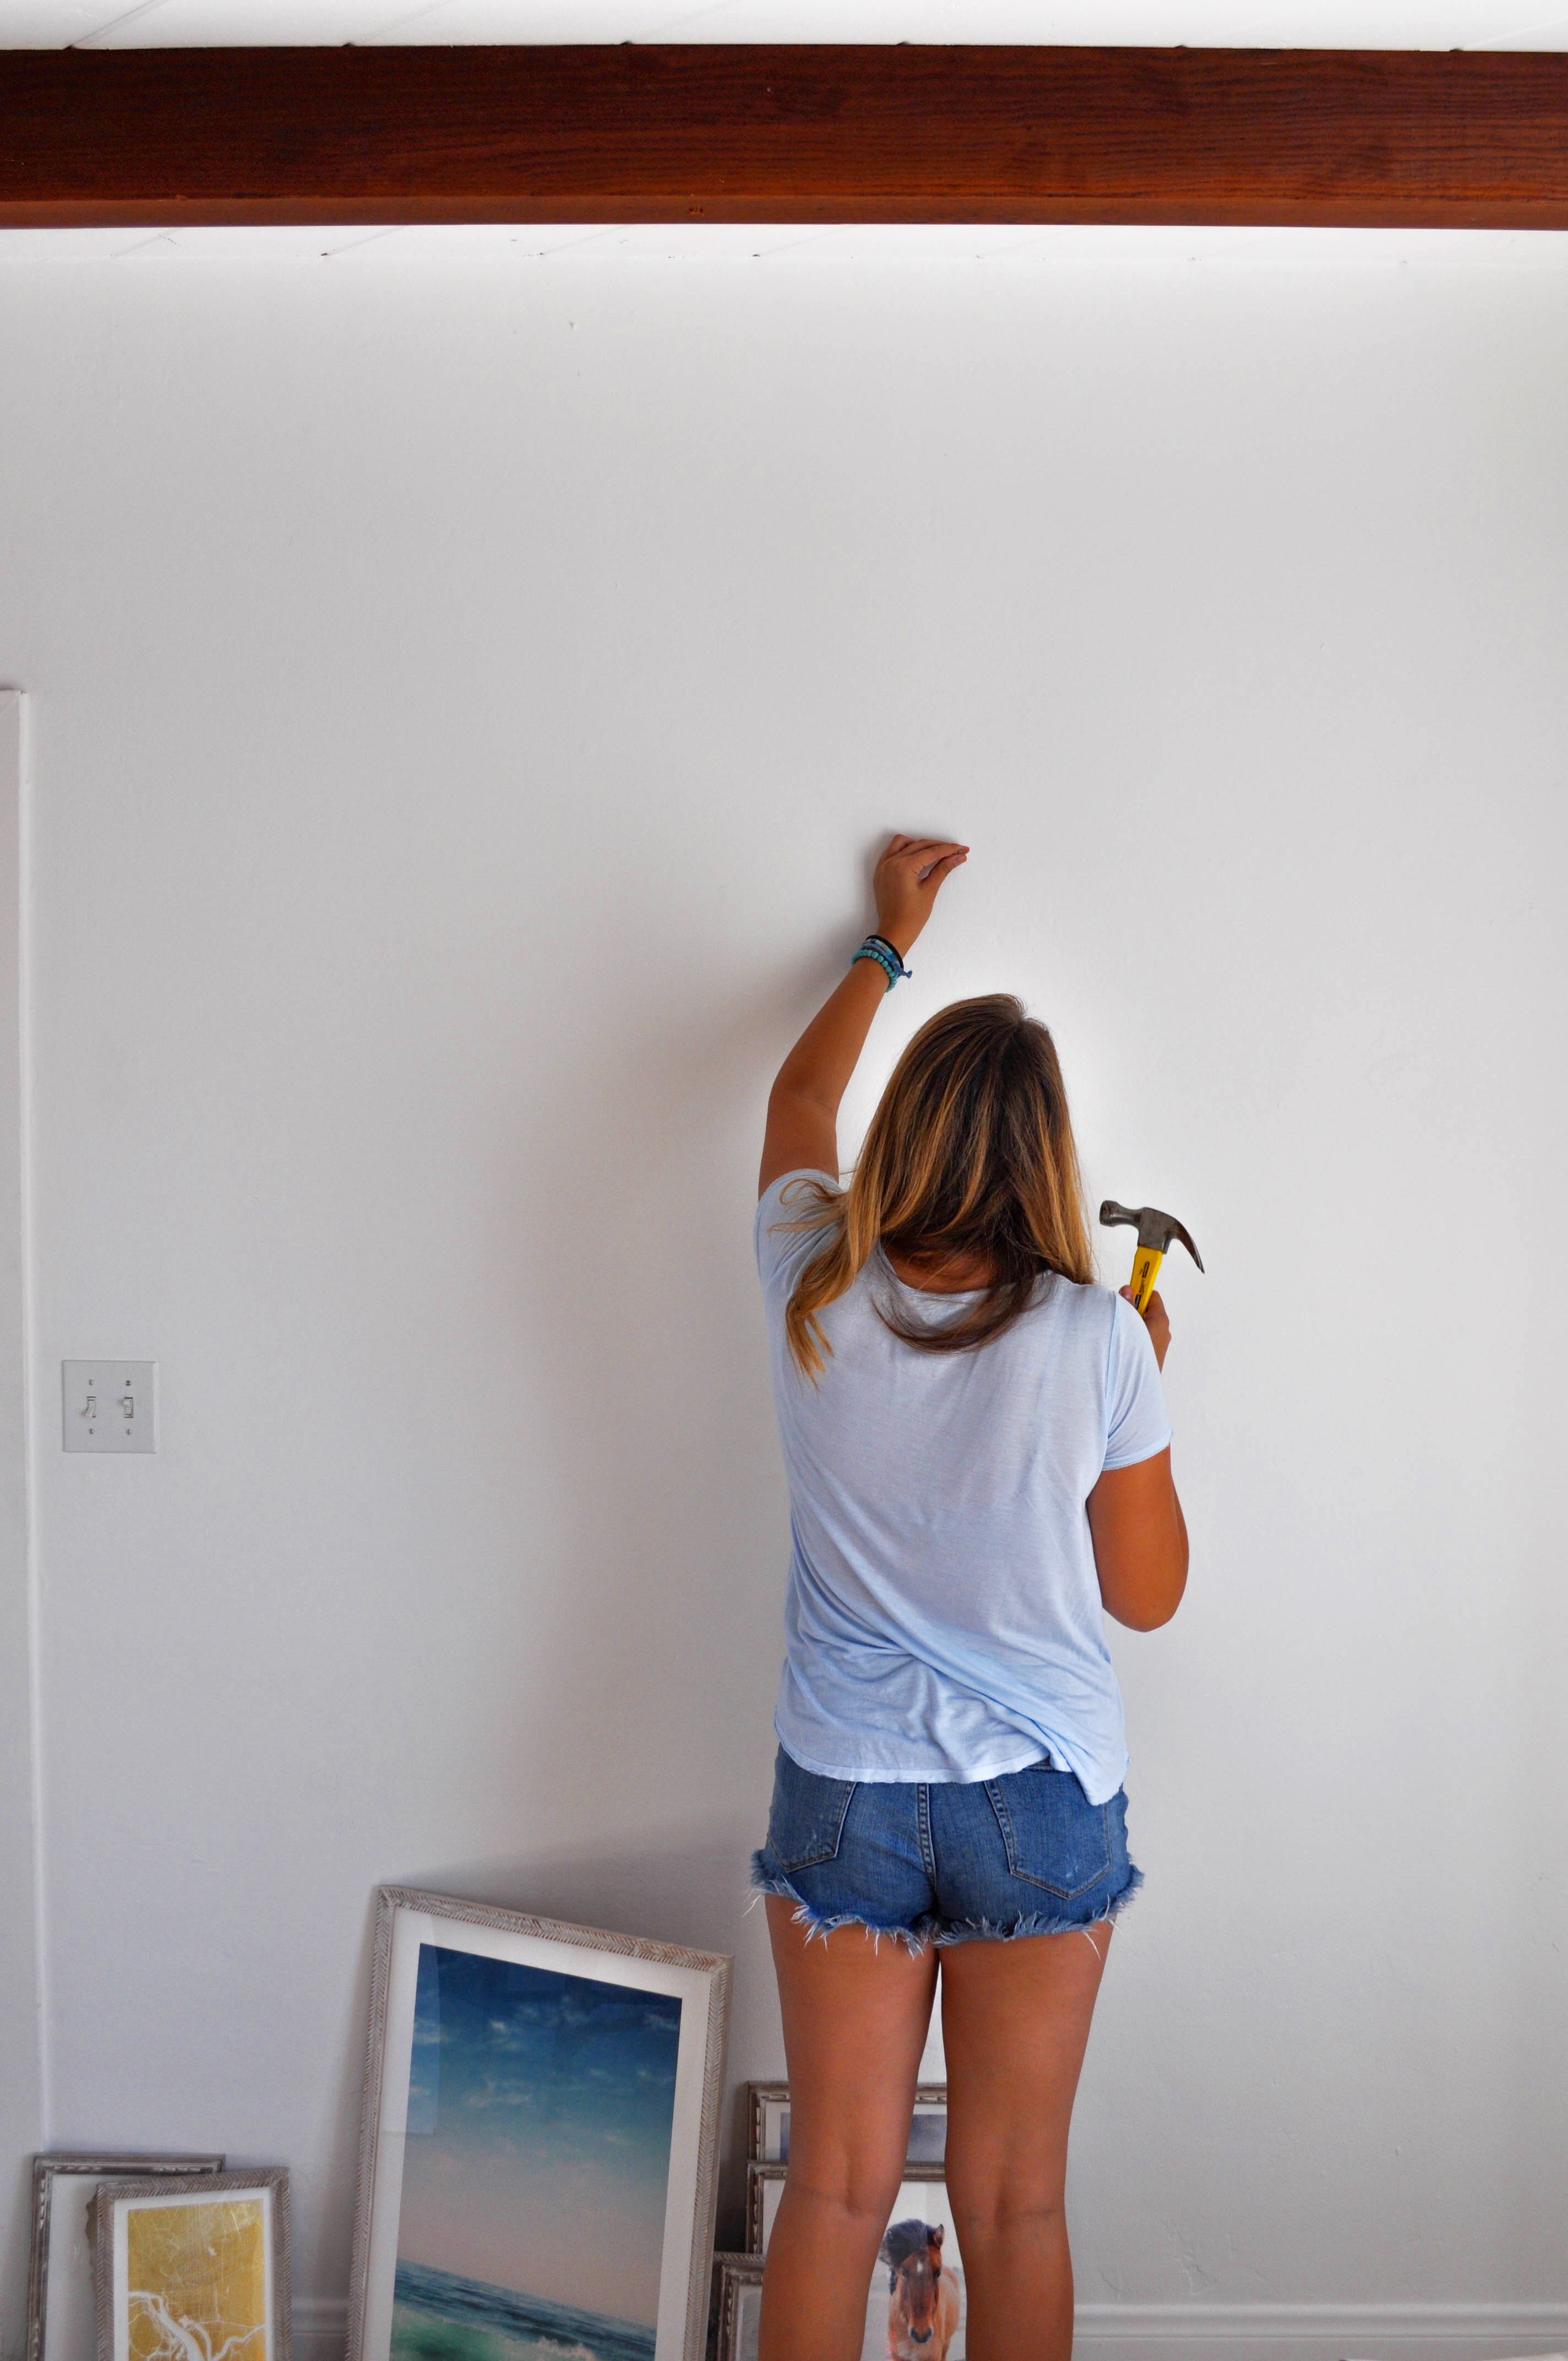
Tee: Urban Outfitters – seriously the most comfortable tee you’ll ever wear// Shorts: old but similar here // Glasses: Warby Parker
I’ve wanted a gallery wall for a few years now but could never really come up with a theme I loved or find enough pictures to put one together, last spring I stumbled across this gorgeous Minted foil map of DC and fell in love with their entire art selection. When Minted offered for me to pick out a few pieces to build my own gallery wall I was so excited! The fun part is picking out all of the art, but then comes the hard work! I pulled together my steps for how I built my gallery wall with Minted so you can build your very own own!

1. Pick your art and Frames
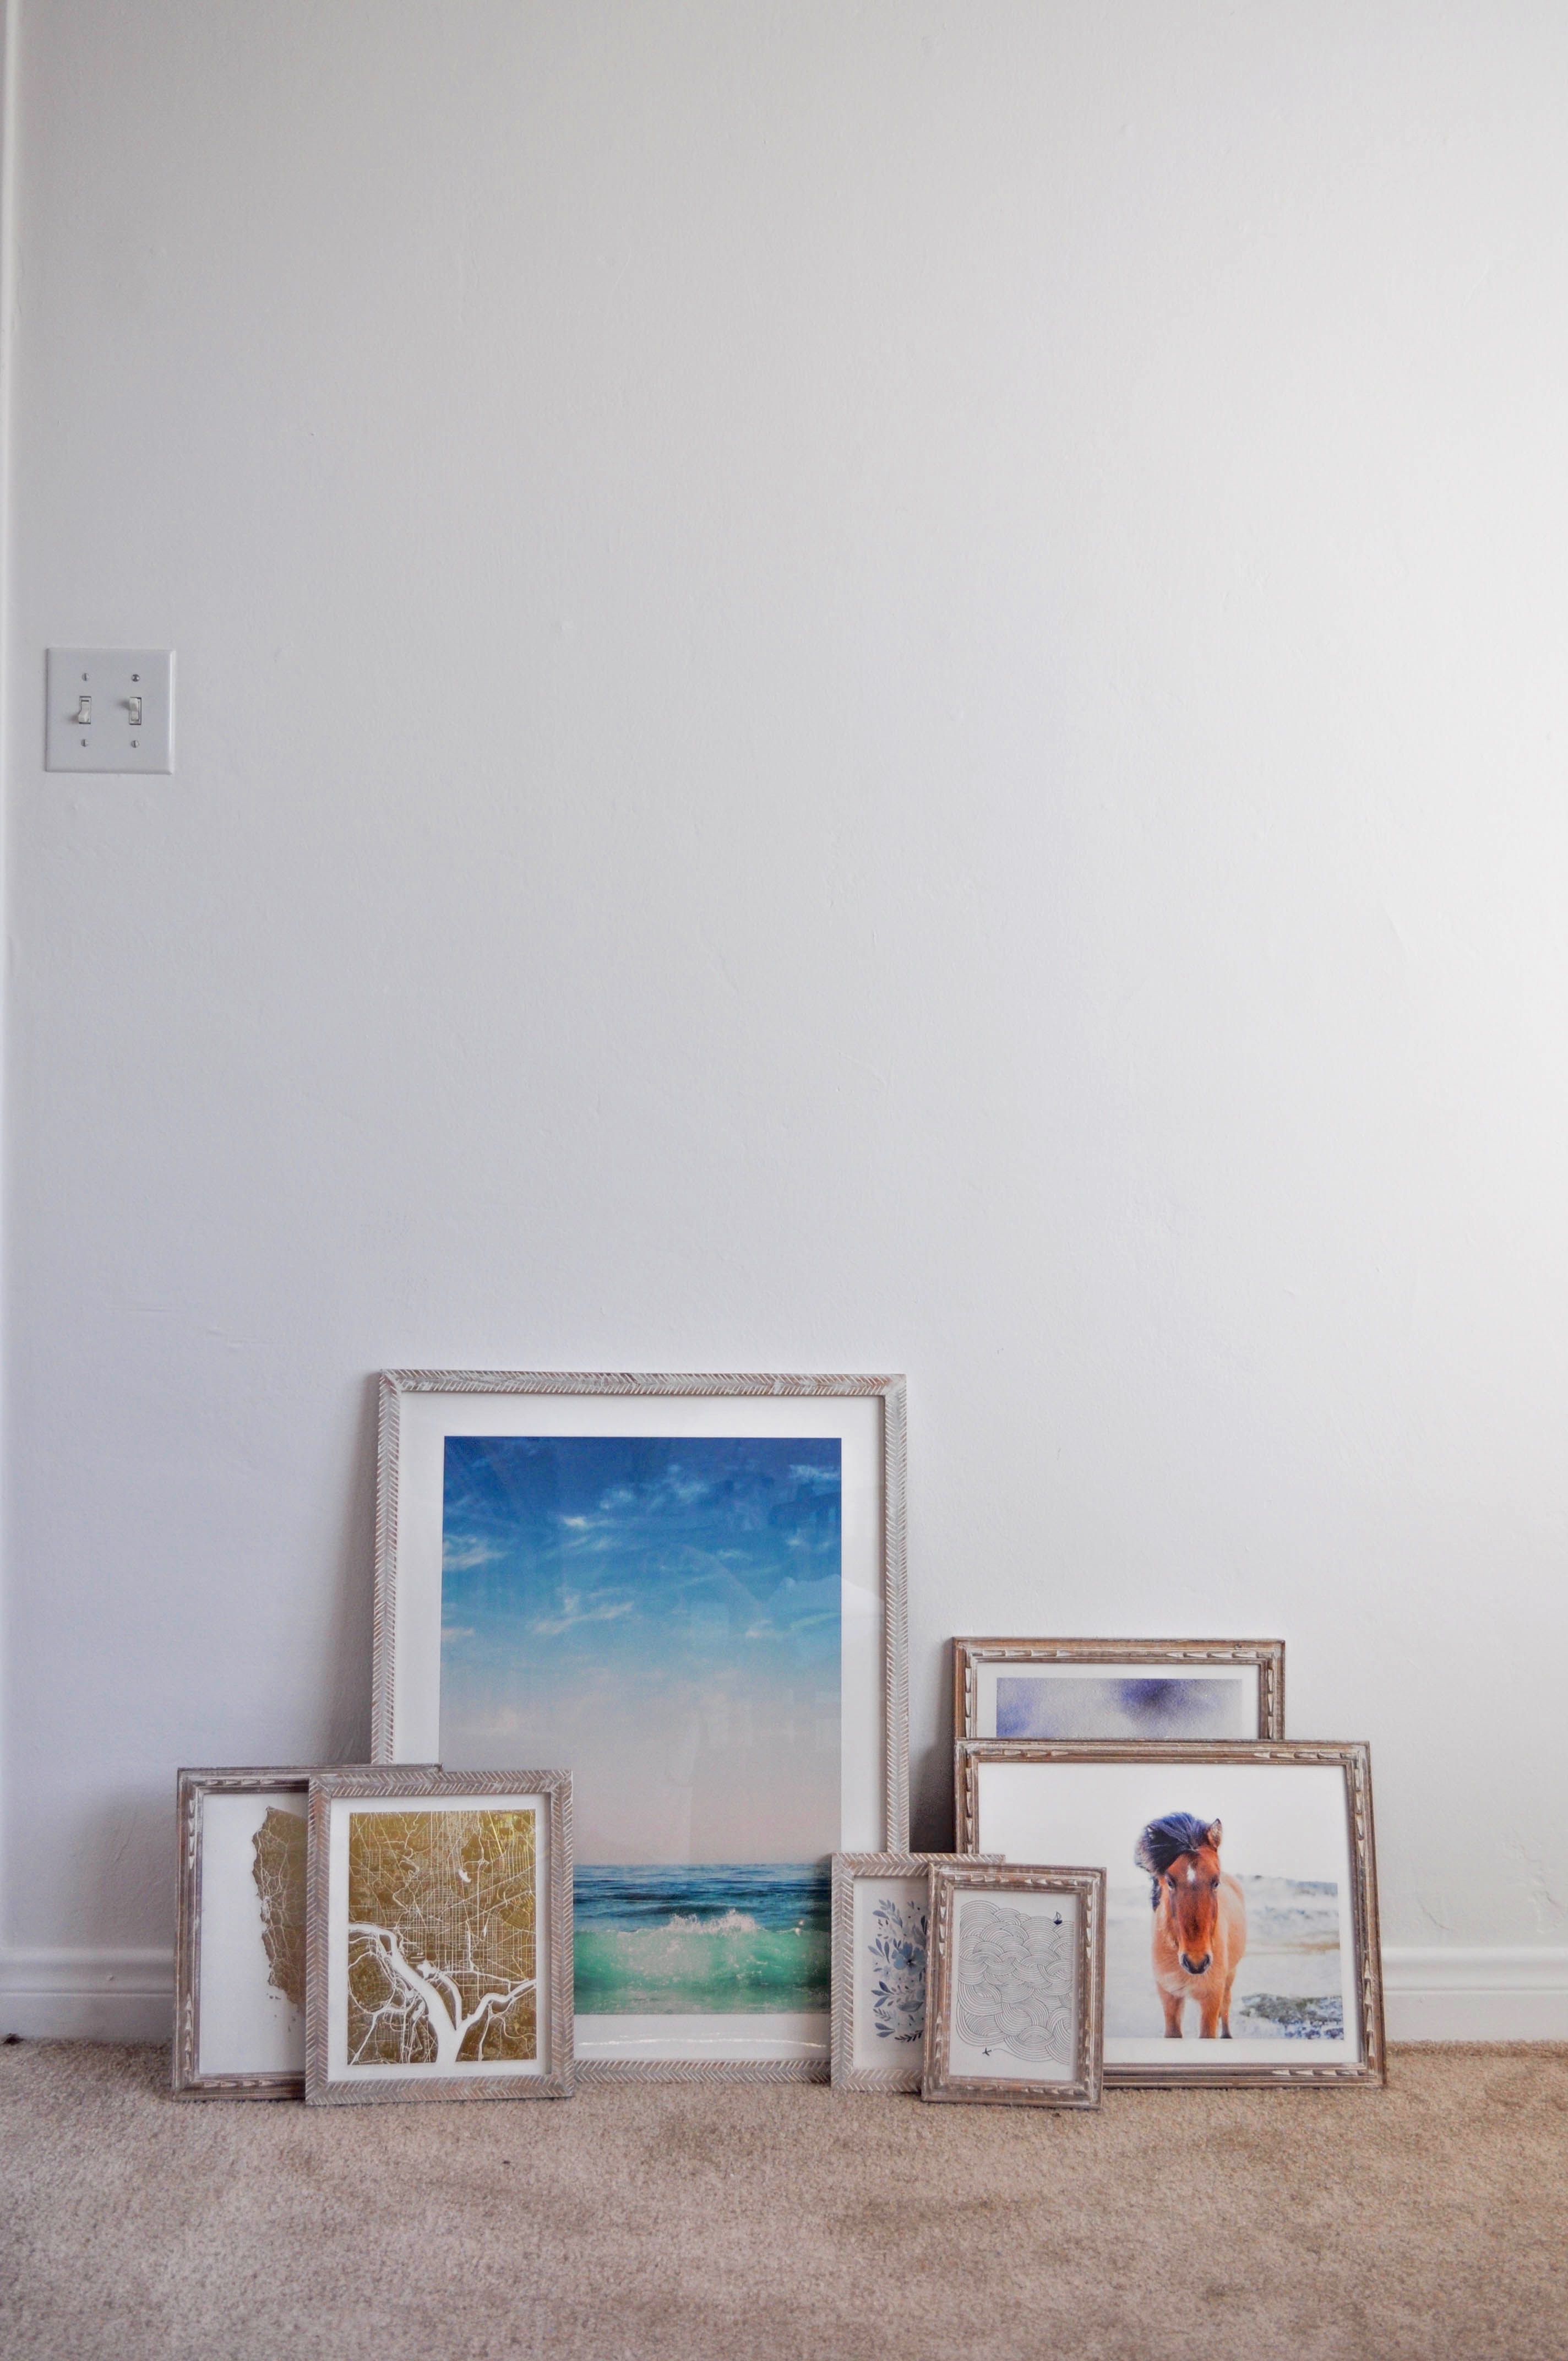
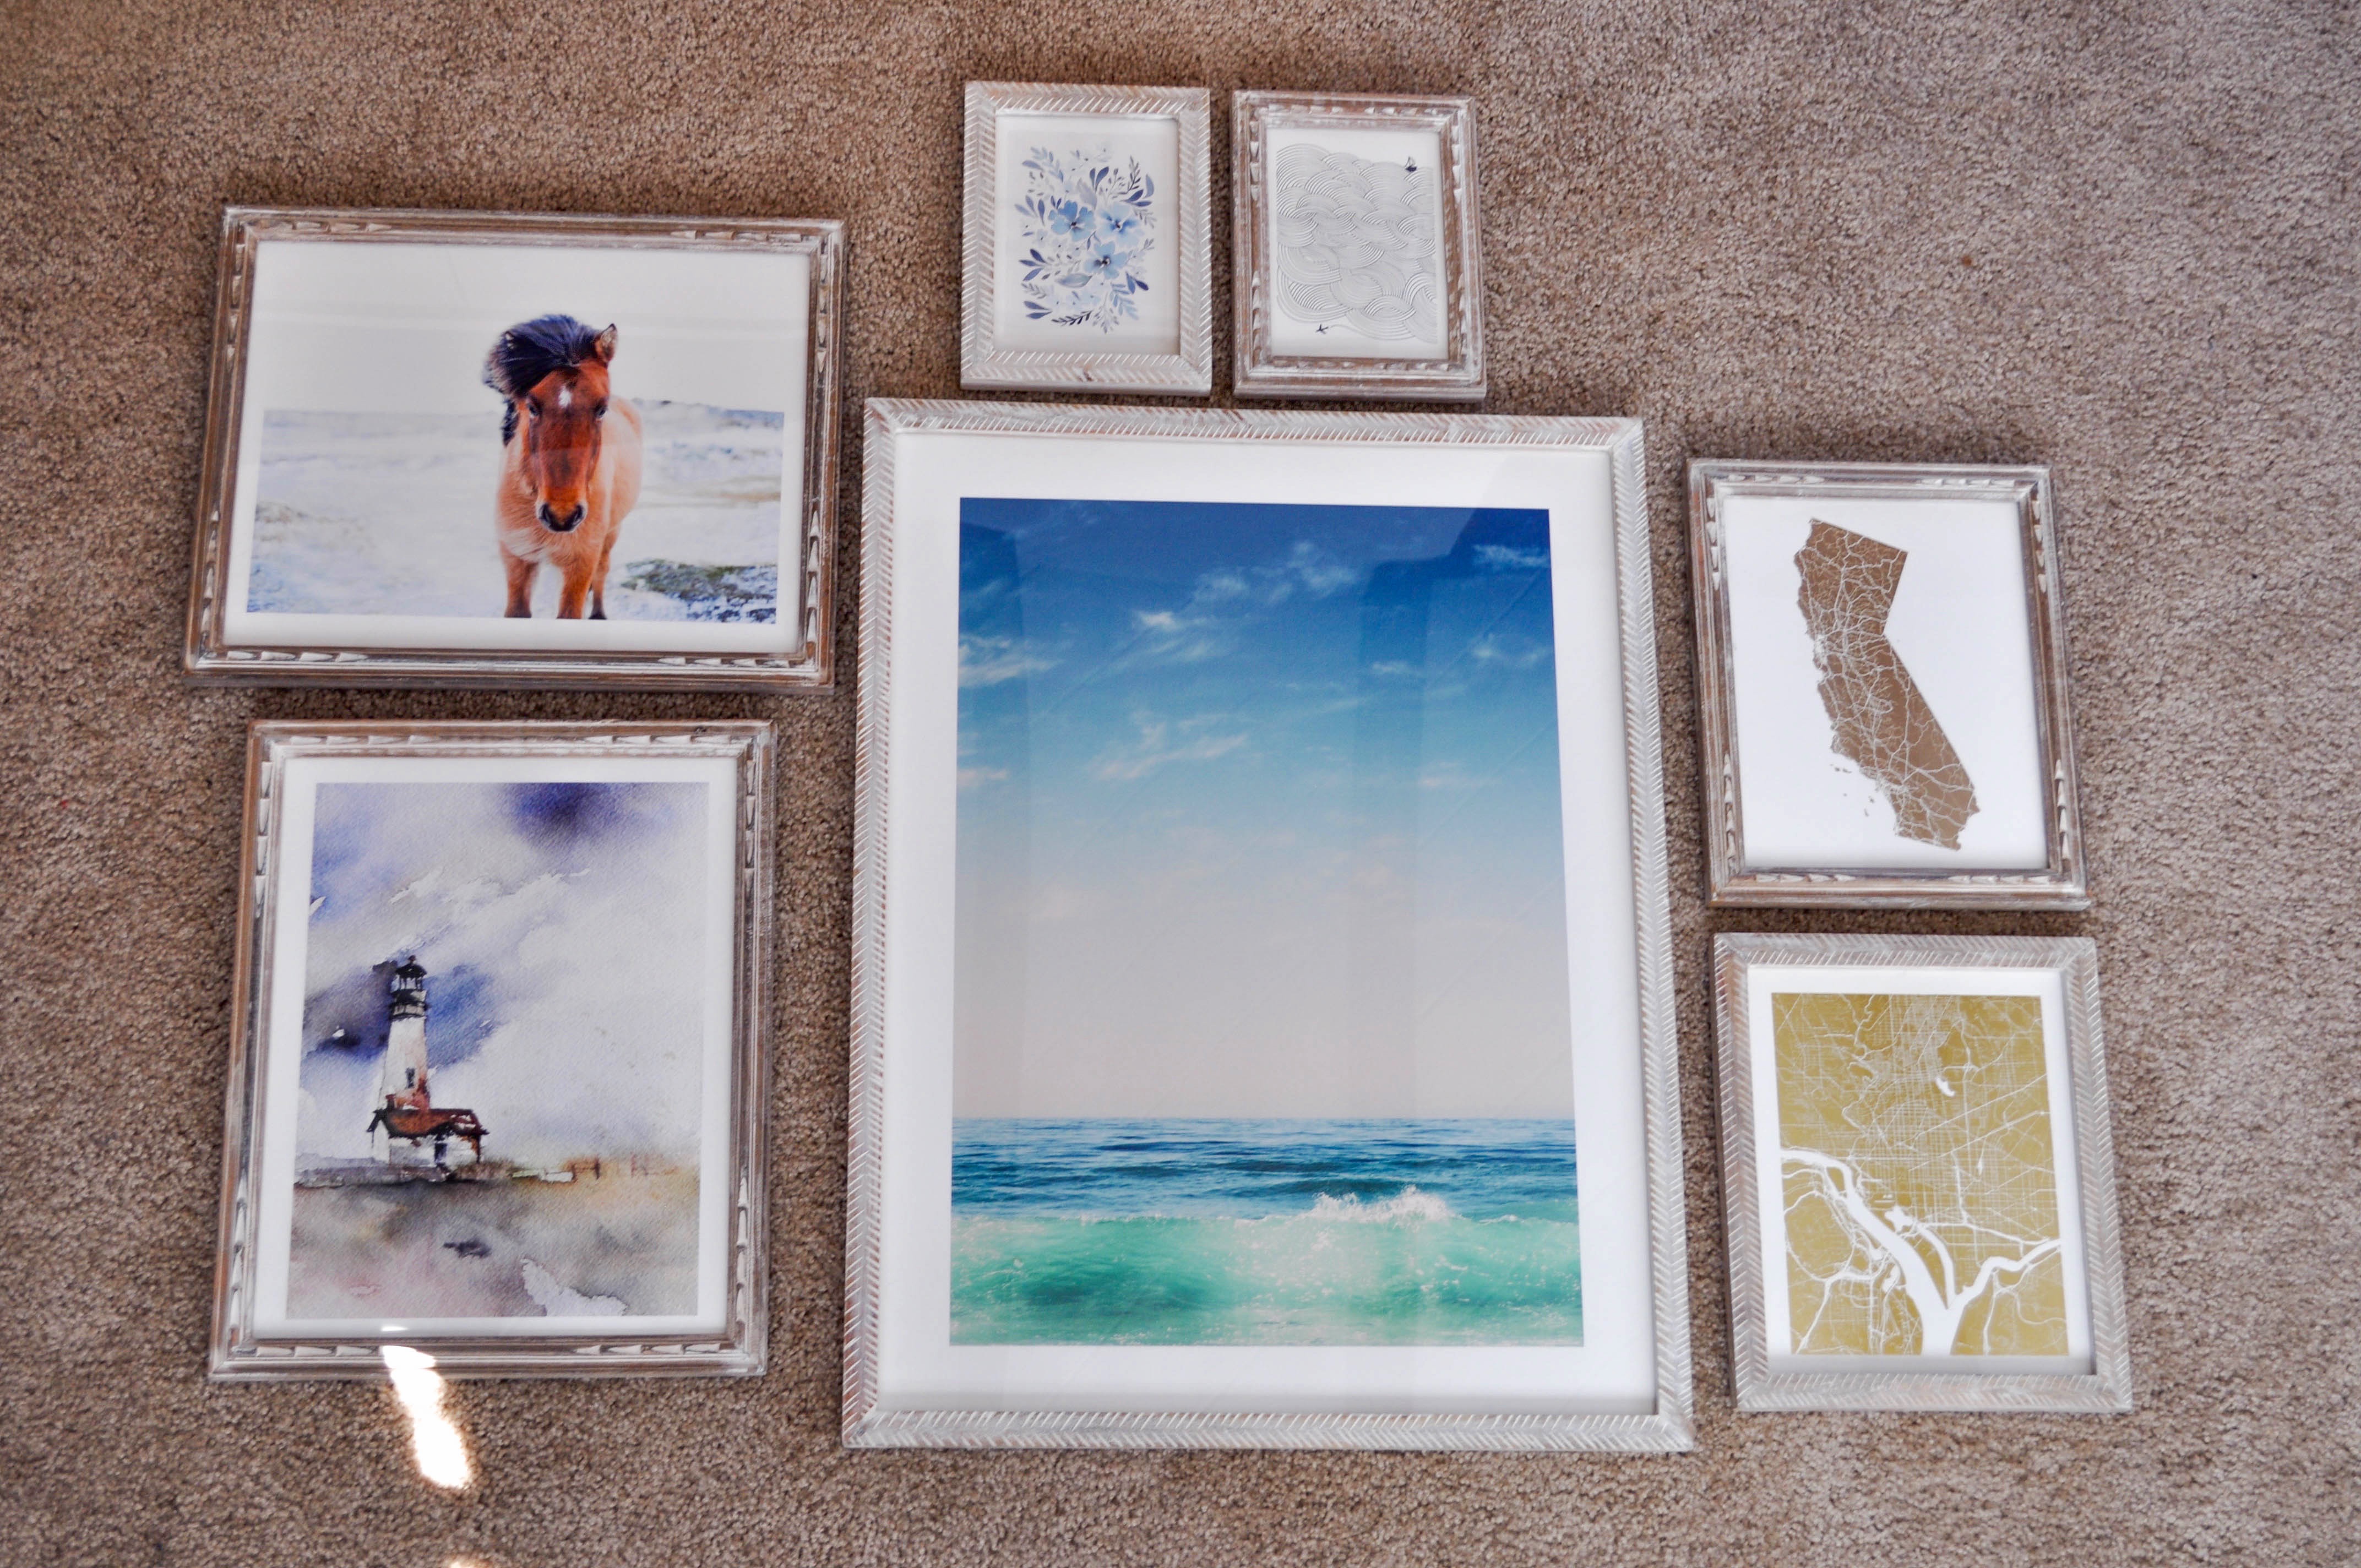
This is the fun part! Because I’m so close to the water I knew I wanted to stick with a cool color palette but have pieces that meant something to me. After sifting through Minted’s massive collection I settled on this selection, every piece resonates with me in some way and together I think they’re gorgeous!

When it comes to framing your photos, frame them based on what you think looks best with the art, it makes for a really fun wall when you have different types of frames! I happened to find two frames I loved that looked great with all of my art so I stuck with them! It was so nice to have all of my art arrive already framed, but if you’d rather frame everything on your own you can always order the prints without the frame and do that part later!
2. Create your arrangement
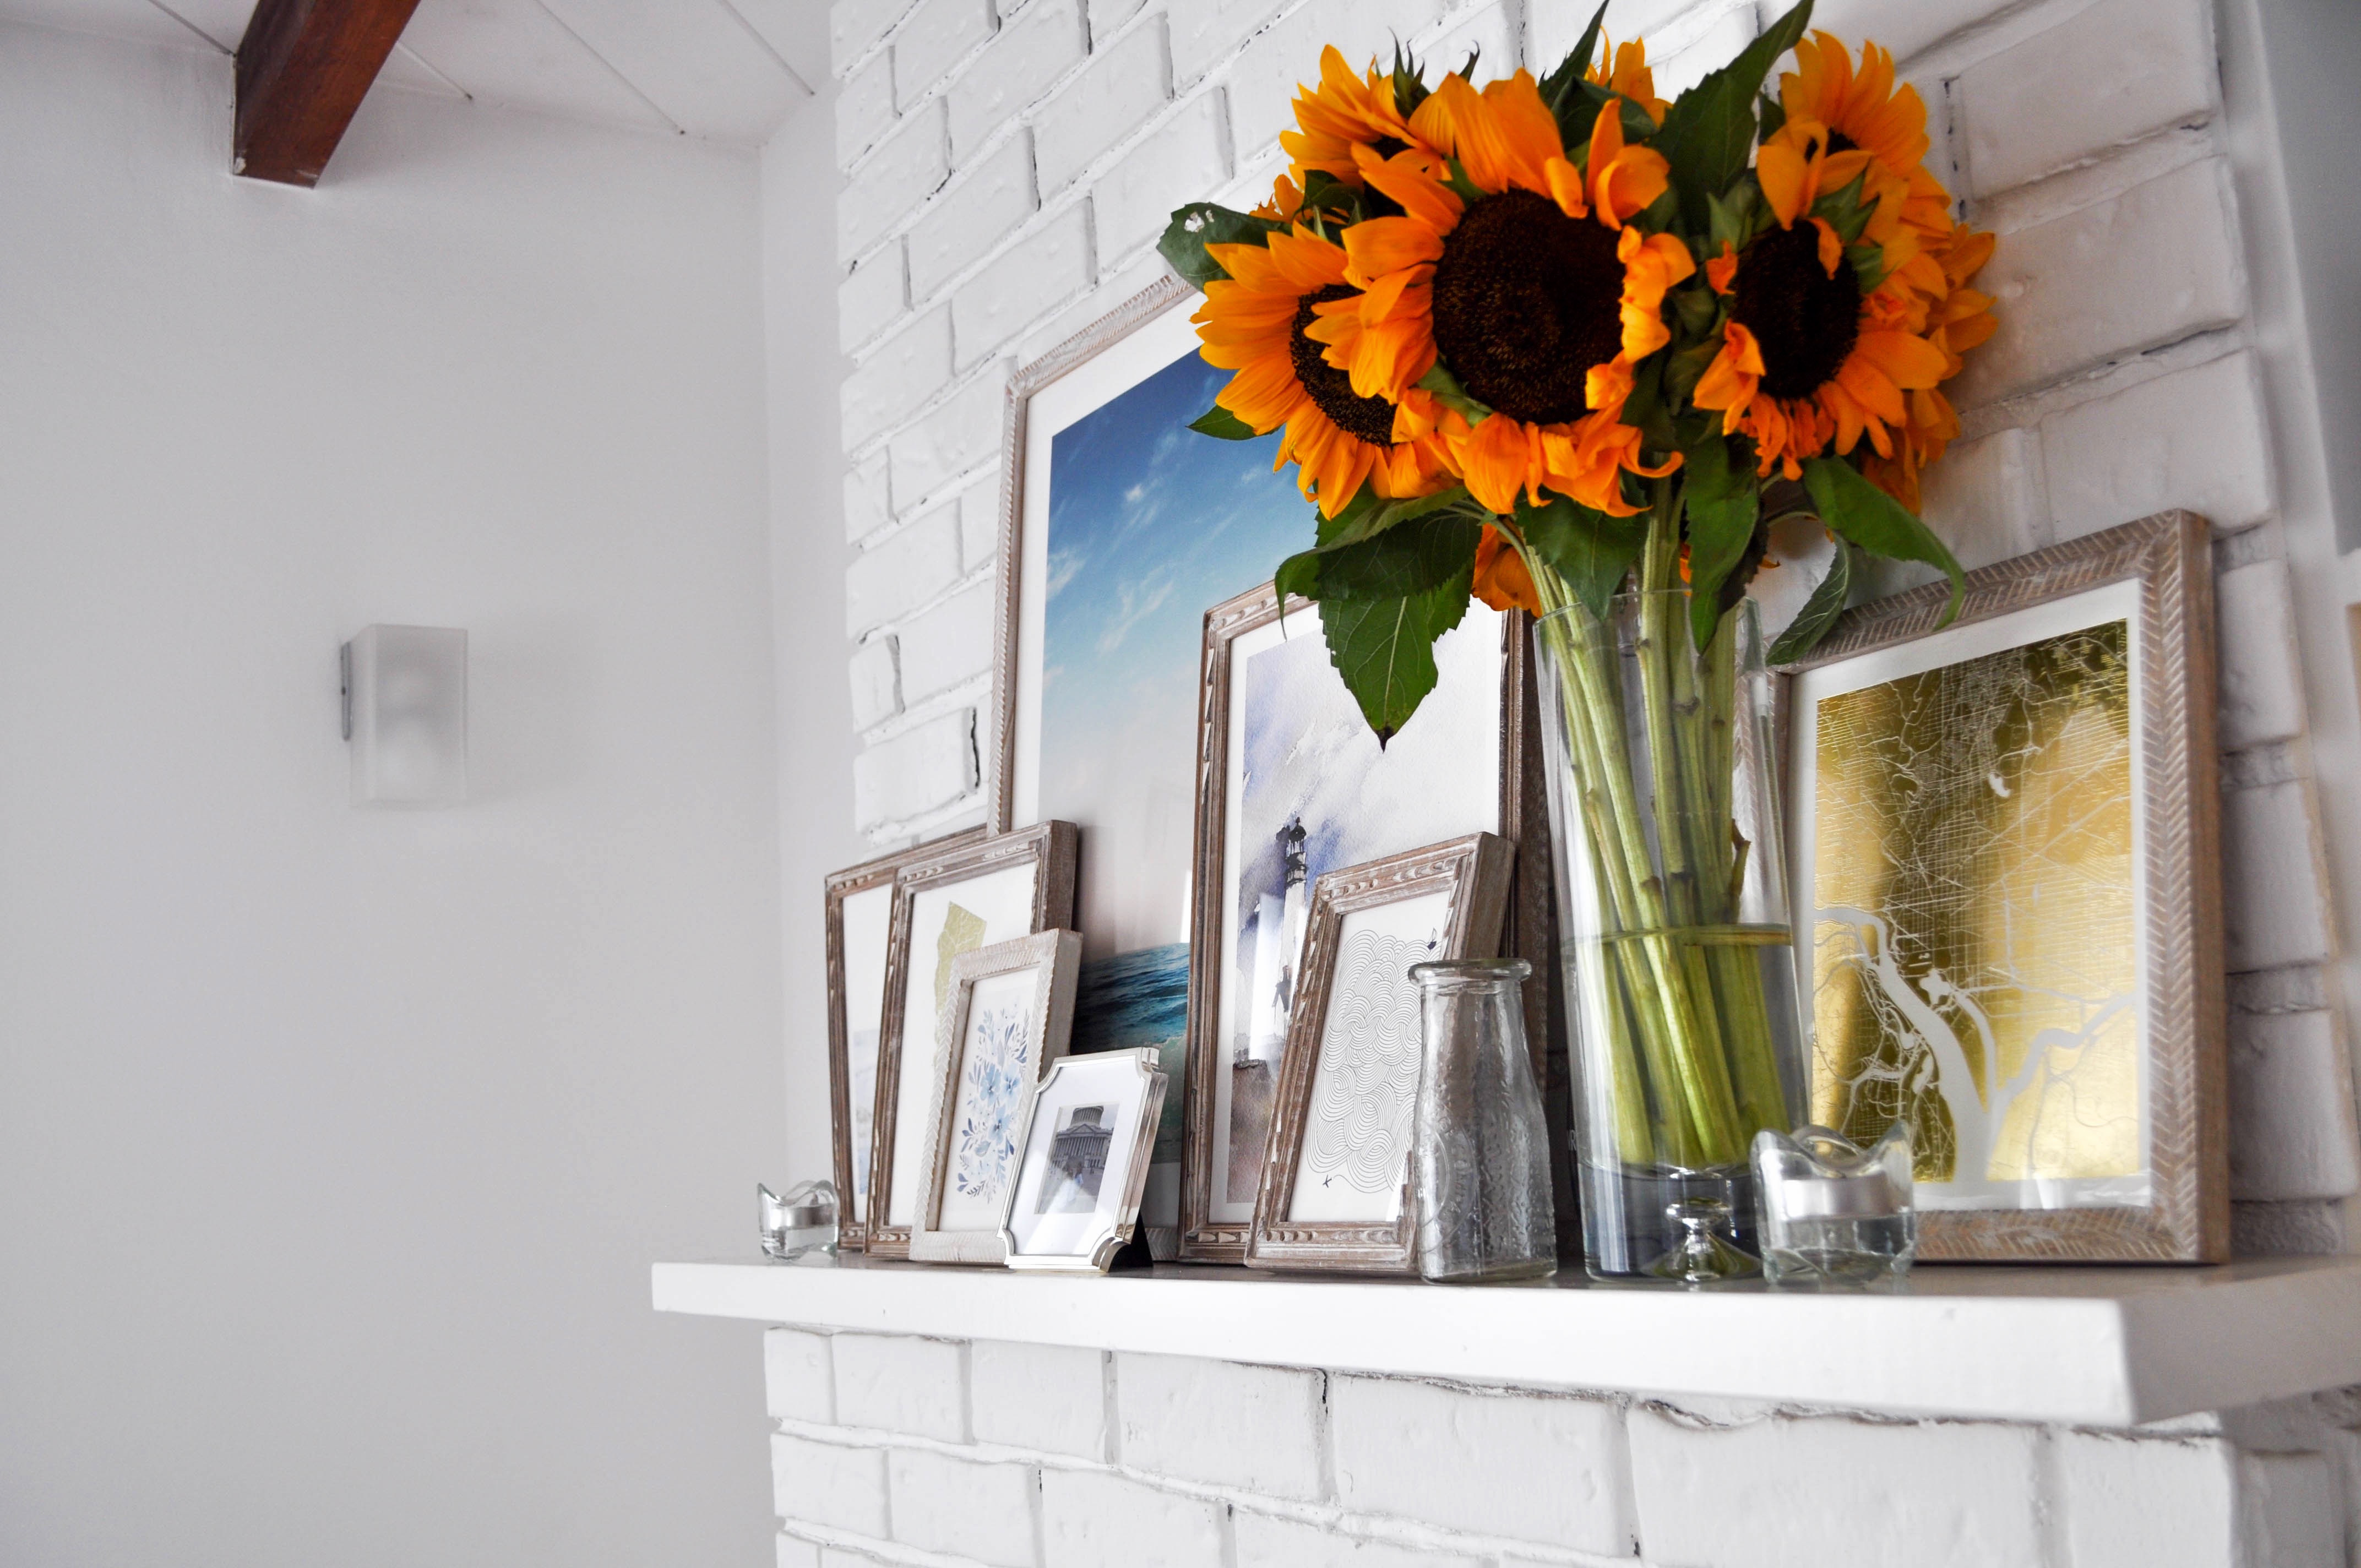
Start arranging your art, spend some time with this and arrange the pictures a few different ways! When I was picking my pieces I used a couple of the templates for gallery walls directly on Minted’s site, it was nice to see the photos together and play with the arrangements before having to make my final decision on which pieces to pick! Once it arrived, all my art sat on the mantle for a good two weeks and then sat on the floor in different configurations for a mother 3 or 4 days before they finally made it on the wall! That way I knew exactly how I wanted everything! Take photos of your arrangement so you remember what you want it to look like on the wall!
3. Measure and mark your wall
Grab a measuring tape and start marking up where you are going to be hanging everything up! It will be helpful to have everything marked up for when you go to hang it all up! This is when that picture you took will come in handy, you can reference it to make sure everything gets hung up in the right order!
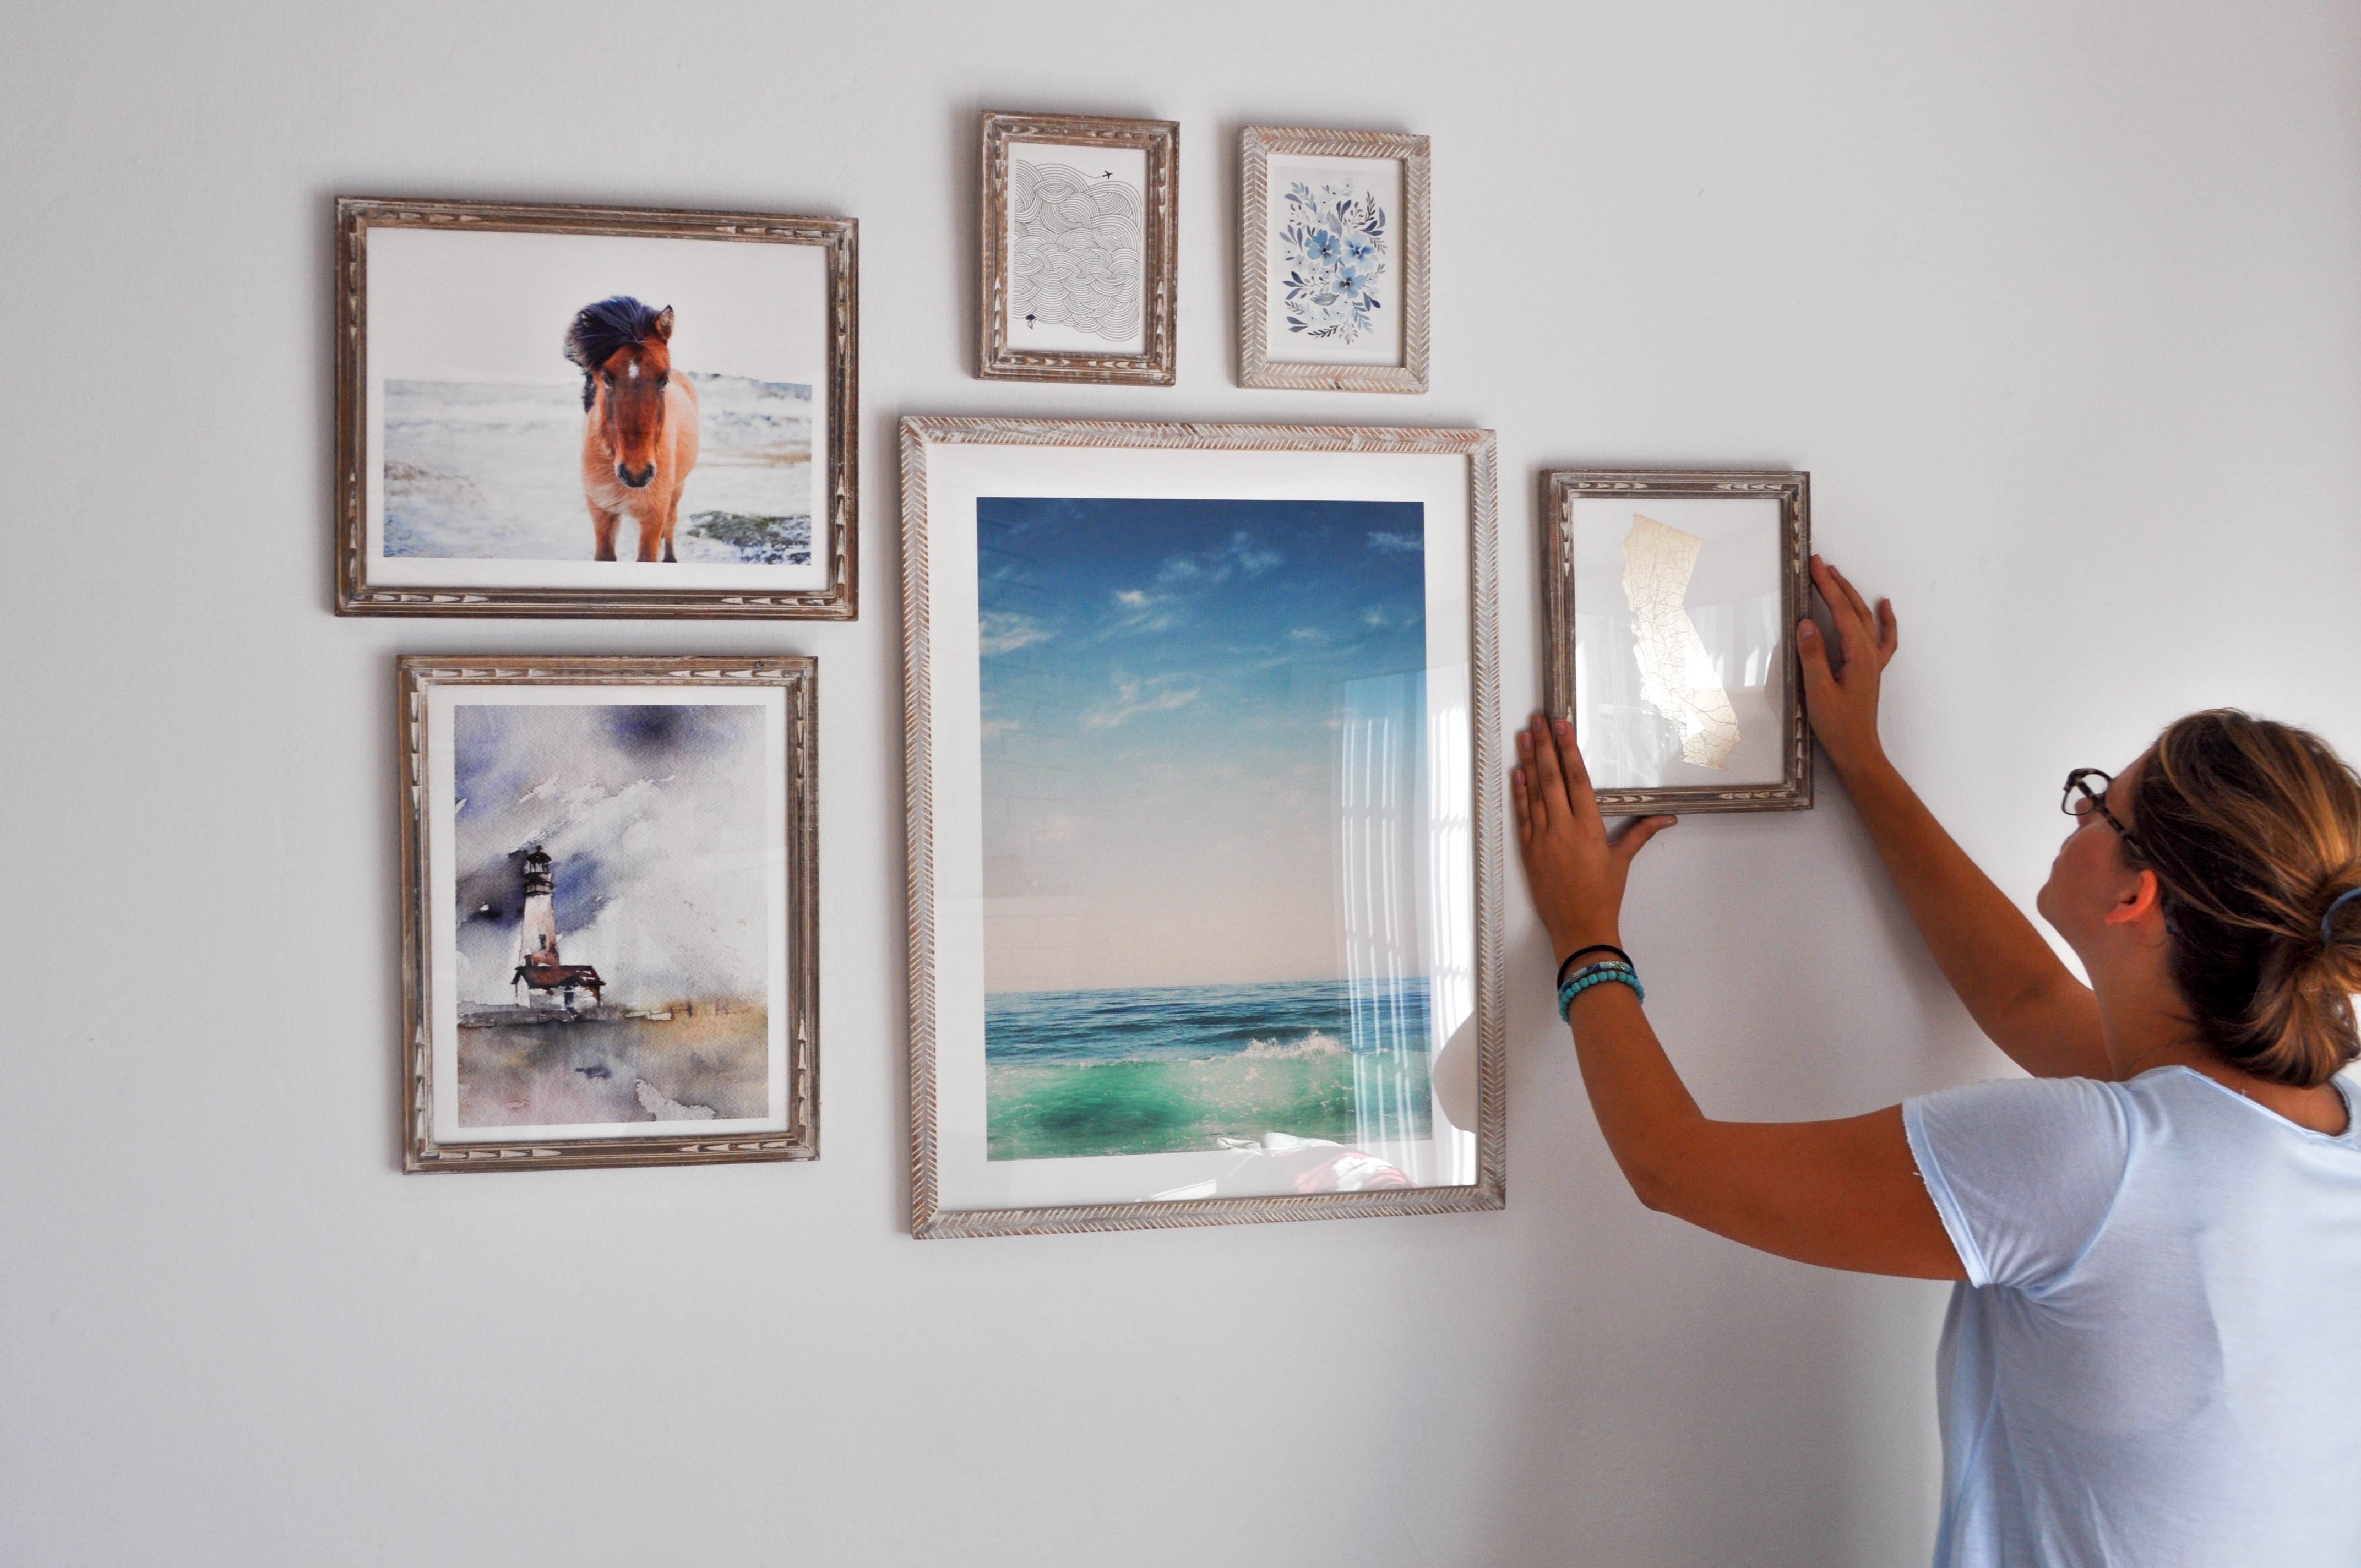

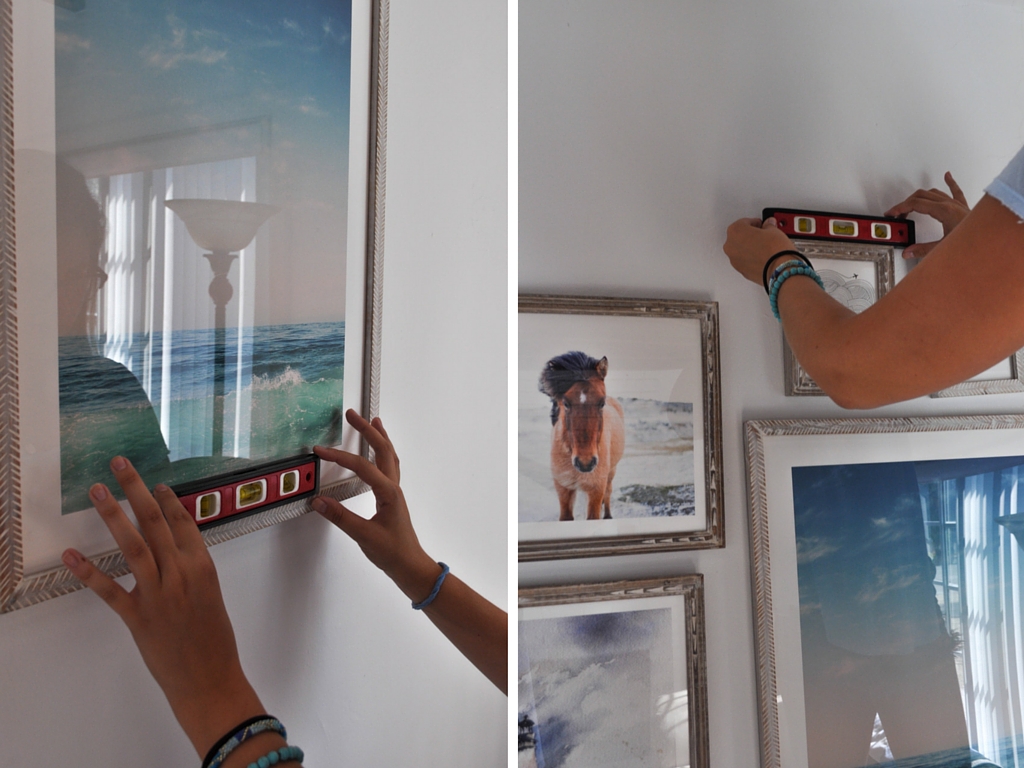
4. Hang it up
I would recommend hanging your largest piece first, that way you can build everything else out around it, I wanted mine in the center but depending on how many pieces you have in your wall you may want to hang it off center so it doesn’t steal the spotlight! Keep your works at eye level and limit your photos to two works so keep everything eye level (unless you’re going for a floor to ceiling look, in which case send me pictures!!) Make sure when you’re hanging your art it’s a great idea to have someone stand on the other side of the room to make sure everything looks good (and level)!
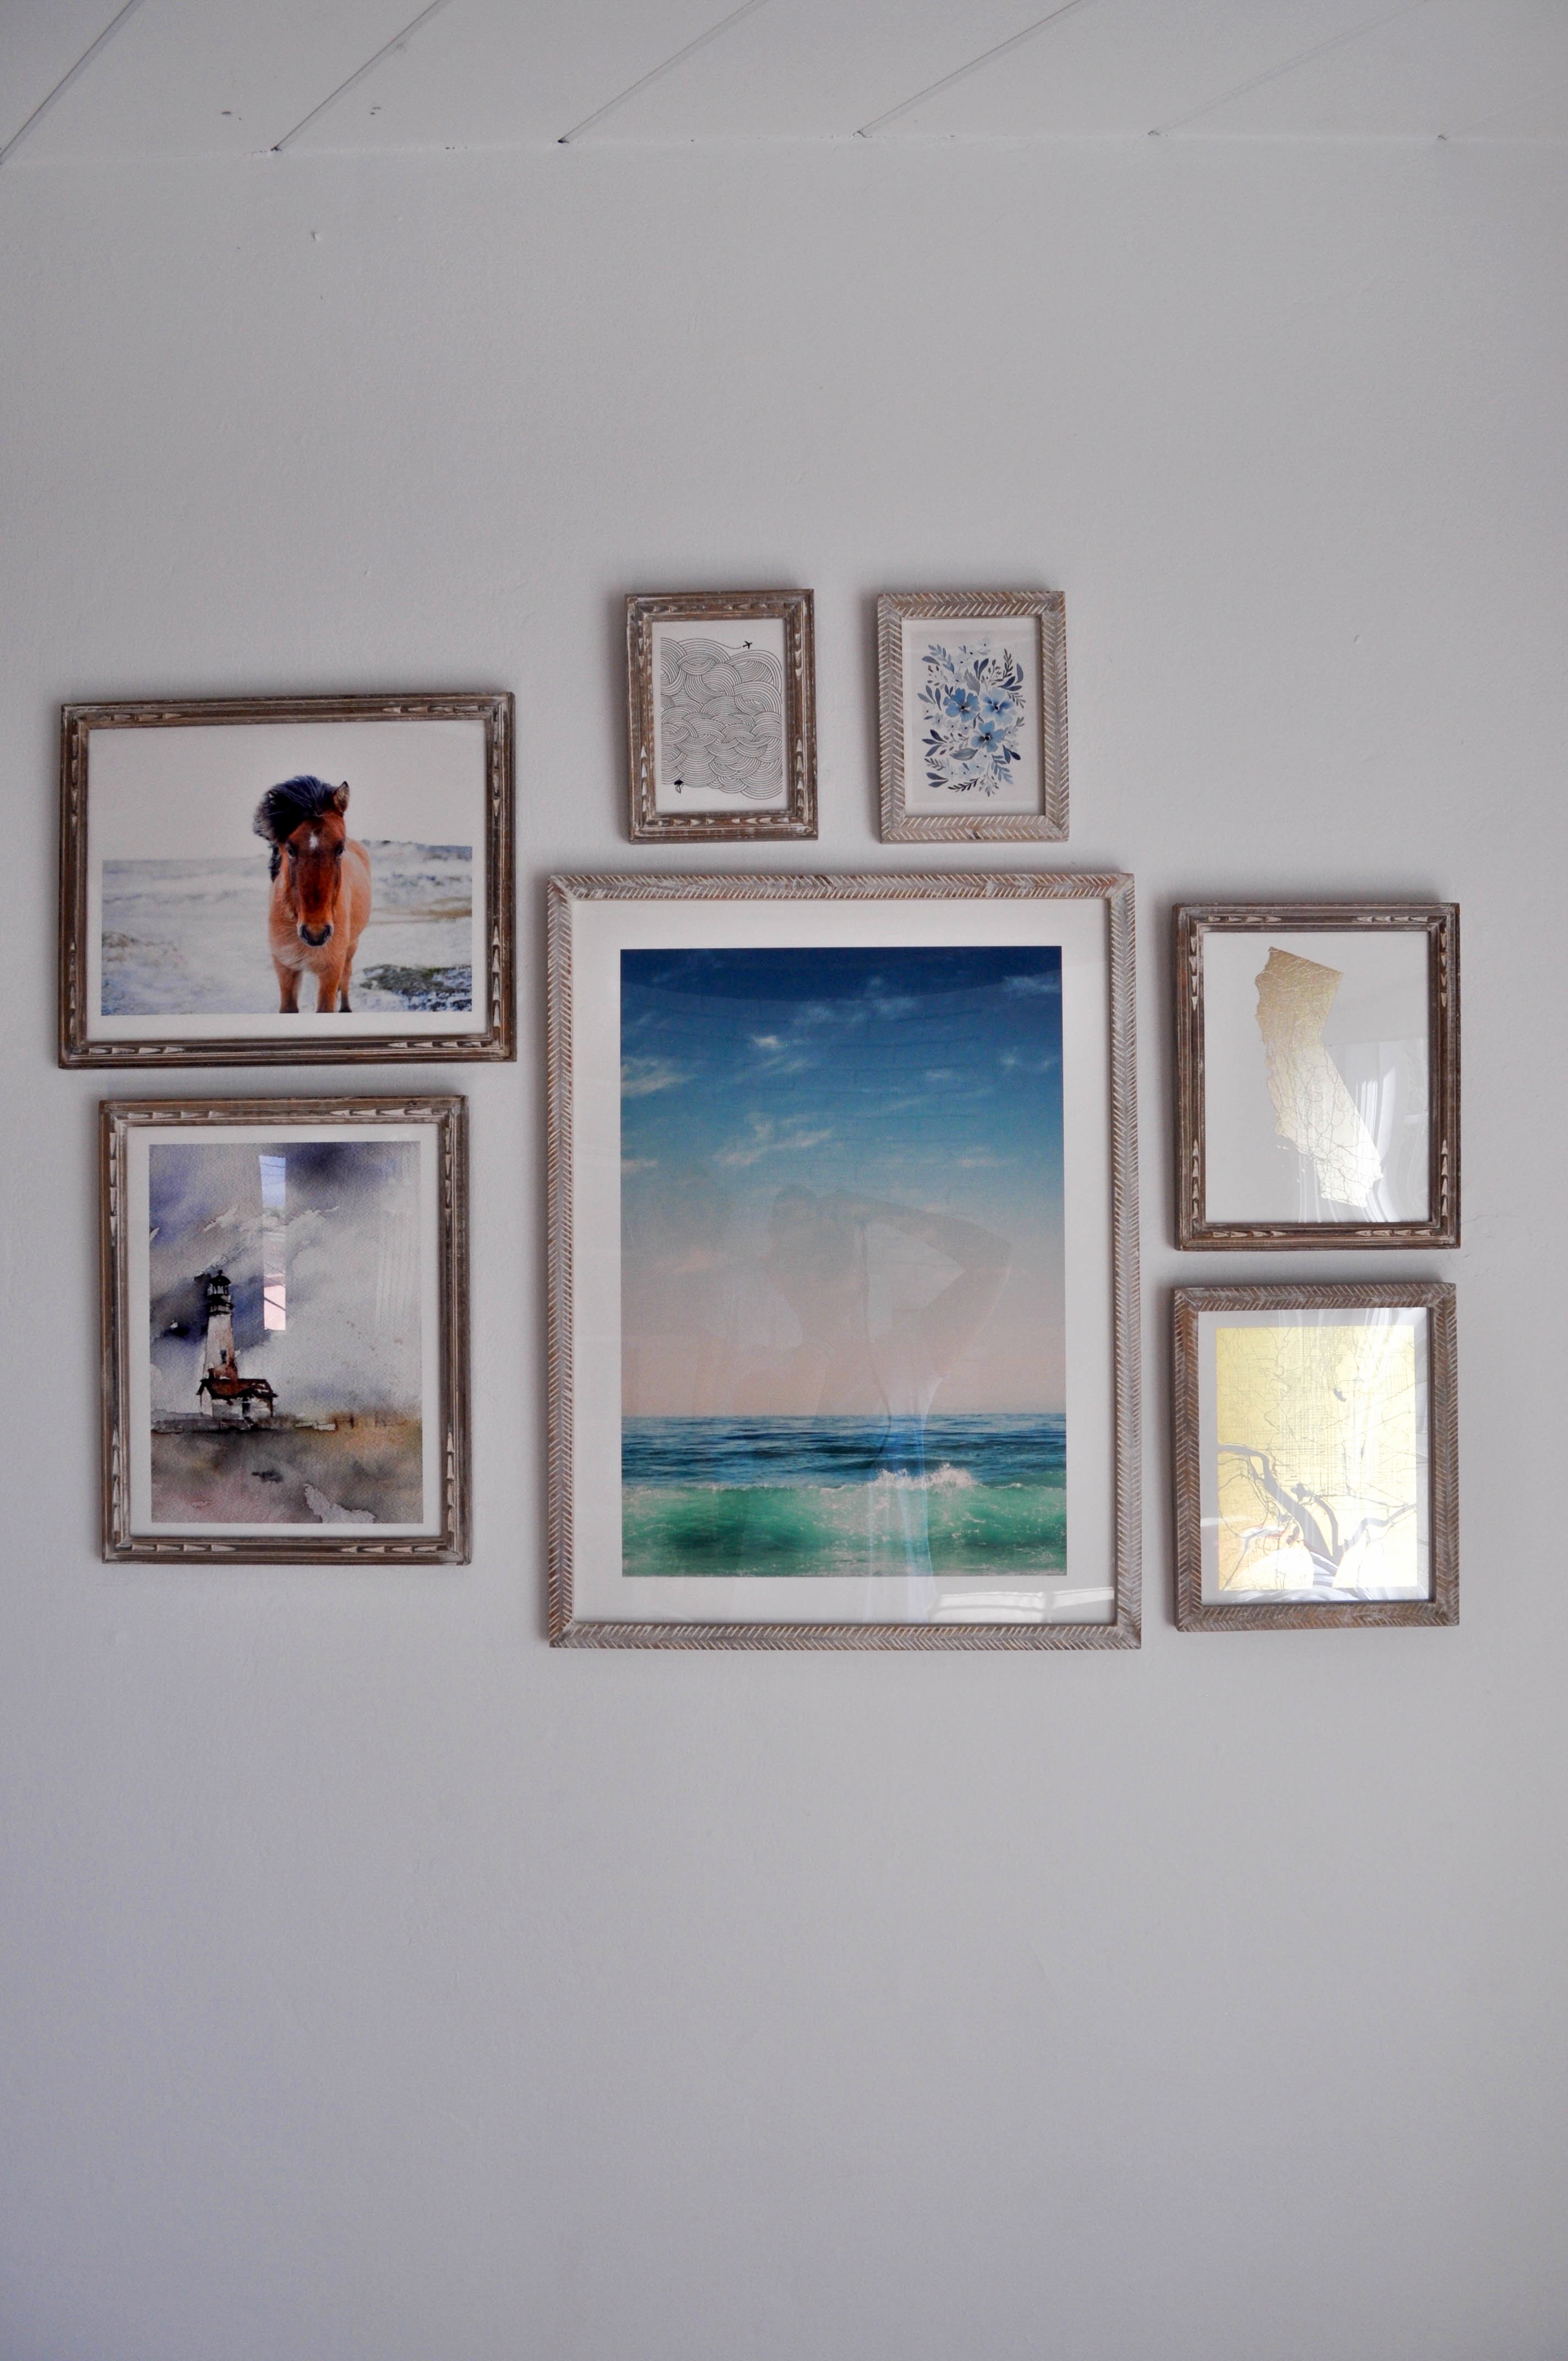
From left to right: All is Quiet // Solitary Watch // Malibu Surf and Sky II // Field of Waves // Chinoiserie Floral // California Foil Map // Washington D.C. Foil Map
I may still be sleeping on an air mattress (more on that later) but the apartment is certainly coming together and I’m so happy with the way my gallery wall with Minted came out! The whole process was surprisingly easy and the final product looks absolutely gorgeous!
Do you have a gallery wall? I’d love to see it!